
I'm very happy with my first shop bought phone (although slightly disgruntled Mr Bear wouldn't let me spend thousands on an iPhone), but it feels so tiny and fragile! I thought I would make it a little cosy so it doesn't get mauled by the hundreds of miscellaneous items in my handbag!
And better still, I thought I would share with you how I made it :)

You will need:
- Fabric - small prints work well
- An A4 piece of felt for the lining
- Matching thread
- Thin elastic
- A large button
- Pins and needles
- Scissors
- A ruler and pen
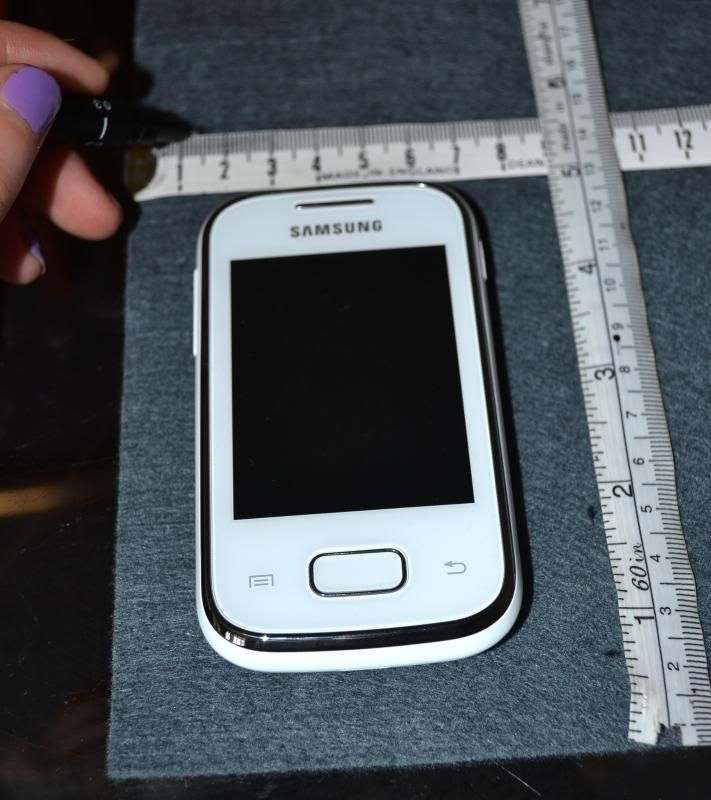
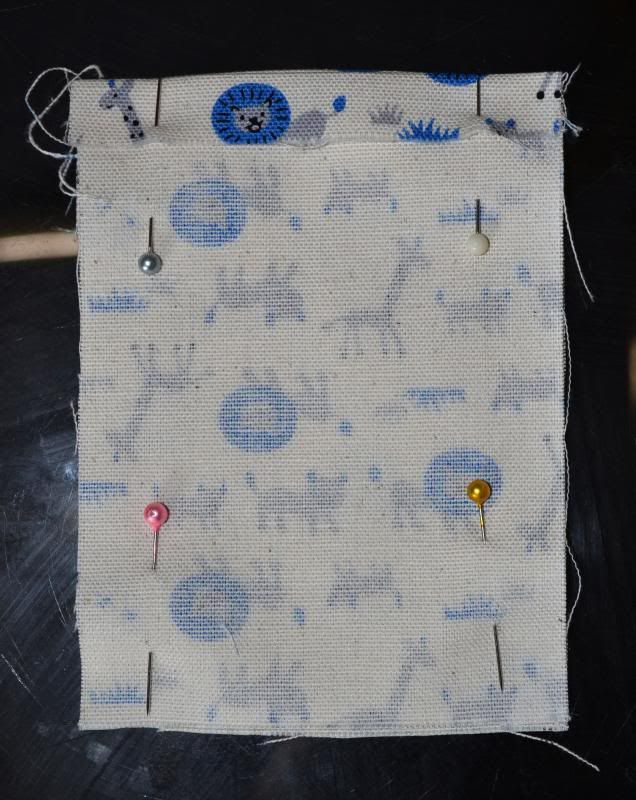
1. Begin by cutting your lining pieces from the felt. I placed my phone near the bottom right hand corner and measured 1.5cm on each side for a seam allowance.
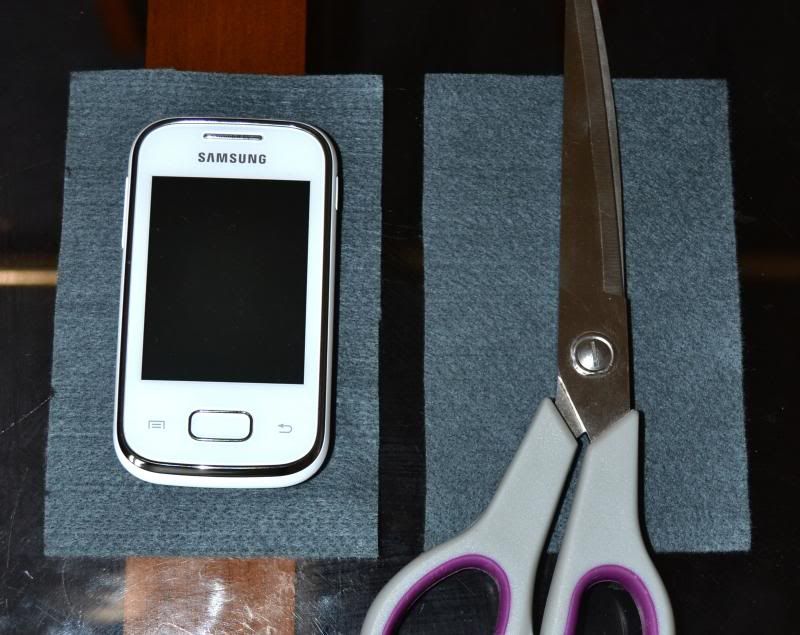
2. So you should end up with two identical rectangles that will be the front and back lining pieces of your cosy.
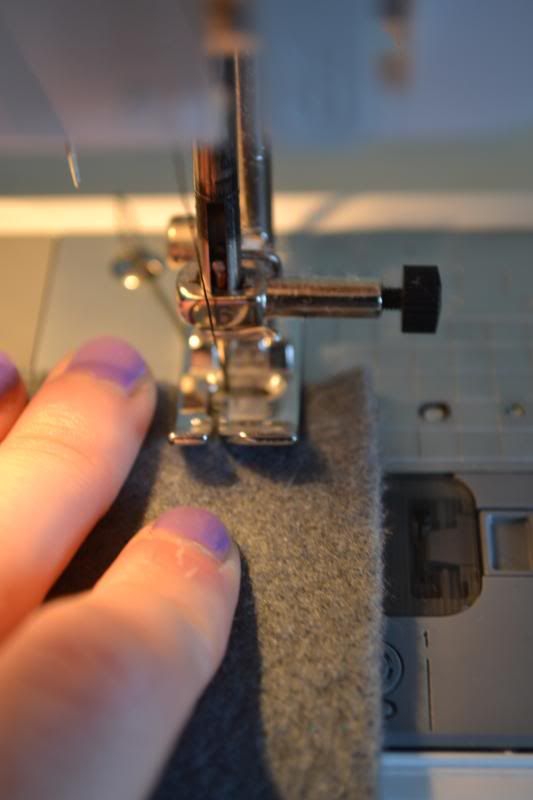
3. Line your two pieces up and sew down the two sides and bottom, leaving your 1.5cm allowance. You may want to pin your pieces together before machining if you're worried about them moving around as you sew.
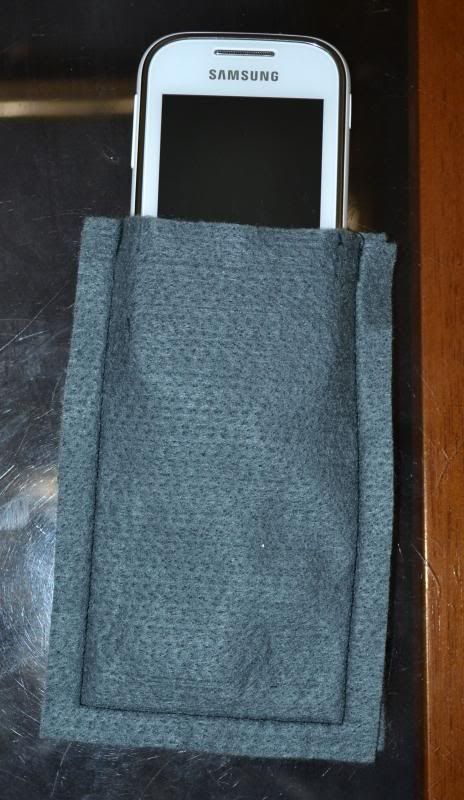
4. Trim your allowances and clip the corners so the lining will fit better inside the outer fabric. Test that your phone fits in snugly!
5. Repeat steps 1-3 with your outer fabric, making it just a liiittle bit bigger so your lining fits in flat. Turn over 1cm at the top to the wrong side and press. Pin your pieces right sides together before sewing to ensure the pressed edges line up. After trimming and clipping edges, turn right side out and press.
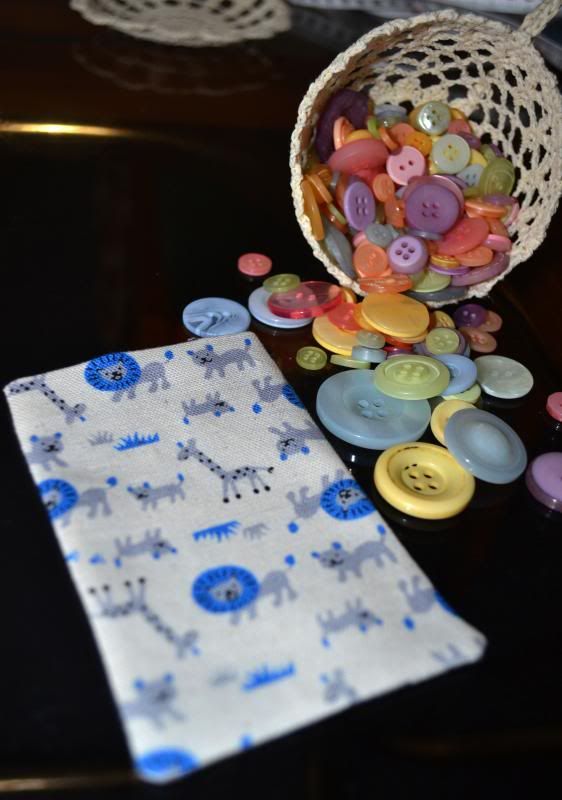
6. Now comes the fun part: picking your button!
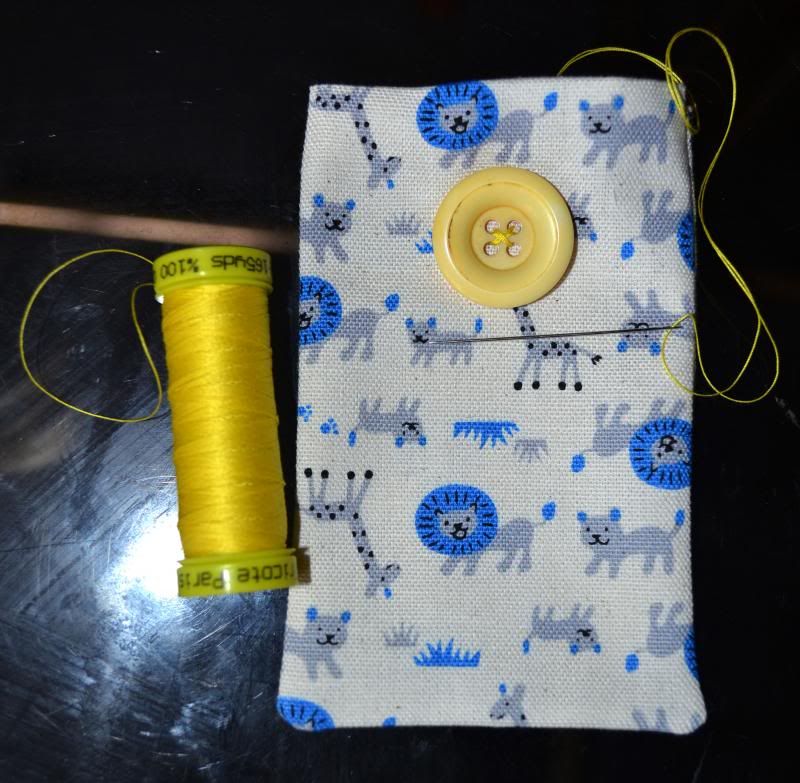
7. Using your needle and matching thread, sew your button to the front of your outer fabric near the top.
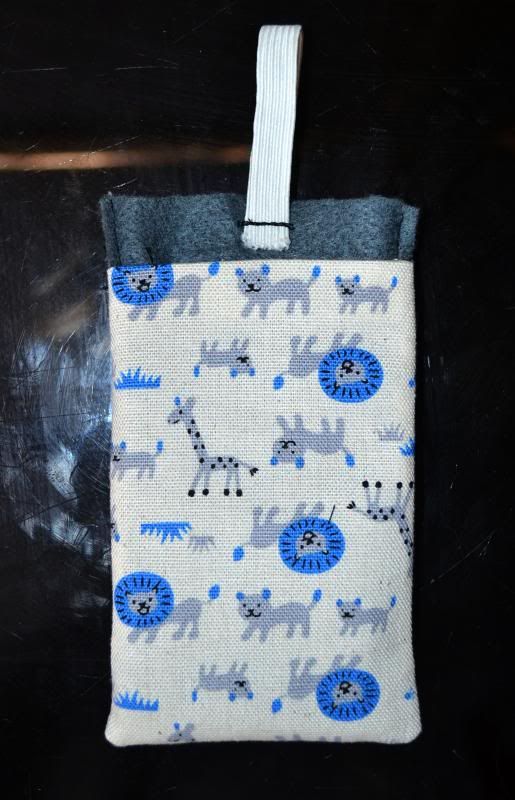
8. Cut a loop of elastic long enough to stretch around your button. Poke your lining inside your outer pocket, ensuring the stitching is facing outwards. Leave a little showing at the top to stitch your elastic onto. Machine stitch over elastic several times.
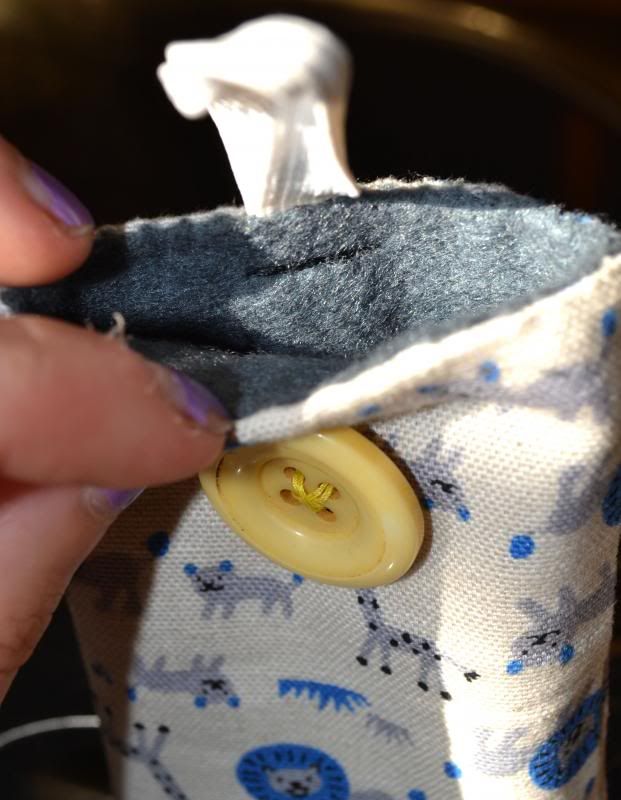
9. Push the lining all the way into the outer pocket, making sure the corners sit nice and snugly together. Pin the top edge of the lining to the pressed edge of the outer pocket and slip stitch.

10. Et Voila!
Hello Holly, I can't find an email address for you, so I'll thank you here! My handprinted fabric arrived today, thank you so much - I love it!! It's even lovelier in real life.
ReplyDeleteI have no idea what this will become, but I will admire it regularly until the perfect project comes up, I hope mine gets safely to you soon... Love Colette x